REVIEW · OSAKA
Osaka: Sashiko Japanese Craftsmanship Workshop
Book on GetYourGuide →Operated by Junale · Bookable on GetYourGuide
Sashiko stitching is calming and strangely addictive. In Osaka, this small-group workshop helps you learn the Japanese craft of Sashiko and create your own geometric textile piece, guided by instructor June (English and Japanese supported). You also get a little cultural grounding on how this technique grew from practical mending into a respected art.
I especially liked the hands-on coaching and the fact you leave with a take-home coaster you made yourself. The main thing to consider is solo travelers: if the minimum 2 guests isn’t met, you may be offered an alternate date, a 3000 yen solo supplement, or a full refund.
In This Review
- Key things I’d clock before you go
- Getting to the workshop near Kyobashi Station
- What Sashiko is, and why geometric patterns matter
- Inside the studio: tools, materials, and a small-group pace
- Your 2-hour flow: from first stitches to coaster finish
- Pattern meaning, meditative rhythm, and skills you’ll actually reuse
- What you take home, plus the nearby JunAle shop corner
- Price and value in Osaka for a 2-hour take-home craft
- Should you book this Osaka Sashiko workshop?
- FAQ
- Where is the meeting point, and is transportation included?
- How long does the workshop last?
- How large is the group?
- What languages are the instructors using?
- What will I make, and can I take it home?
- Are tools and materials included?
- What happens if I’m traveling solo?
Key things I’d clock before you go
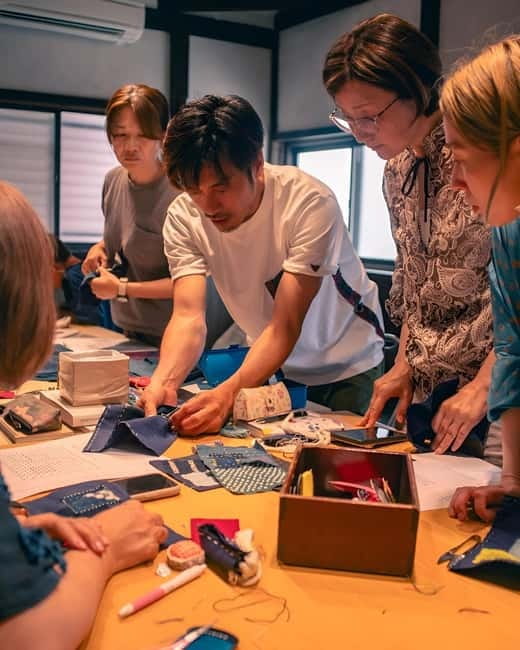
- Small group size (up to 8): easier questions, quicker corrections, more time on your own stitching.
- Guidance from June (English, Japanese): patient instruction that works even if you’re starting from scratch.
- Geometric coaster project: you practice Sashiko on a small, satisfying item you can finish during the 2 hours.
- Tools and materials included: you don’t need to bring needles, thread, or fabric.
- Sashiko pattern meaning: you’ll learn that patterns aren’t random, they carry symbolism.
- A workshop space with character: some classes are held in an older house feel, with wood details that make the session more memorable.
Getting to the workshop near Kyobashi Station
This workshop is based in Honshu, Osaka area, and you’ll want to plan for your own local transit to the venue. The meeting point is Kyobashi station, and with advanced notice you can be met there, which is handy if you’re trying to keep things stress-free on a travel day.
Time matters here because the session is short: 2 hours. If you’re coming from farther across Osaka, I’d give yourself buffer time so you can start with a clear head instead of rushing to find the entrance. Also, check your route in advance; Osaka stations can be wonderfully efficient but still confusing when you’re carrying thread and paper directions in your mind.
One more practical note: the workshop is wheelchair accessible, so it’s worth confirming the exact access route when you book, especially if you’re arriving from the station with a transfer.
You can also read our reviews of more tours and experiences in Osaka.

What Sashiko is, and why geometric patterns matter

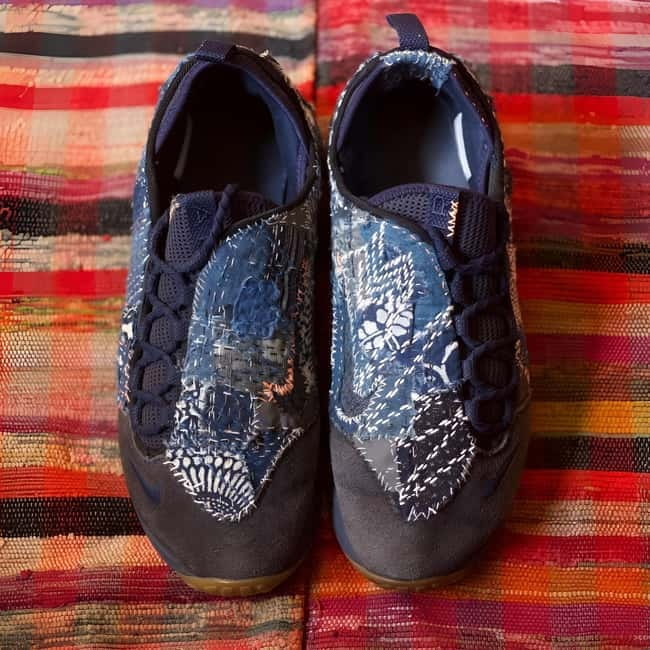
Sashiko literally translates to little stabs, and that’s a perfect description of the look and rhythm. It’s a Japanese hand-stitching method where repeated, measured stitches create bold geometry on fabric. Historically, it started as practical: people used Sashiko to reinforce and insulate clothing—especially in rural communities—so garments could last longer through tough seasons.
What I find meaningful is that Sashiko isn’t just decoration. Those geometric patterns developed regionally over time, and many motifs carry cultural meanings. In this workshop, you’ll learn that context while you stitch, not after. That matters because you’re more likely to remember the technique (and repeat it) when you understand why your pattern exists.
Even if you’re not a craft person, the logic of the stitches is straightforward: create consistent marks, keep your spacing tidy, and let the structure of the pattern do the heavy lifting. By the end, you’ll see why something born from mending can feel artistic and calm at the same time.
Inside the studio: tools, materials, and a small-group pace
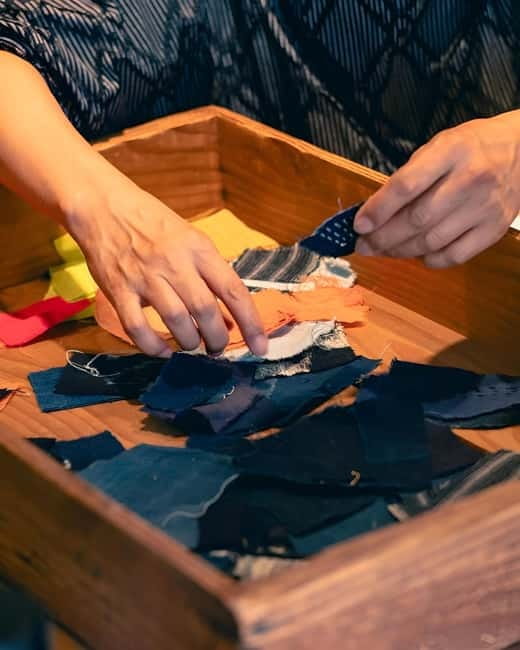
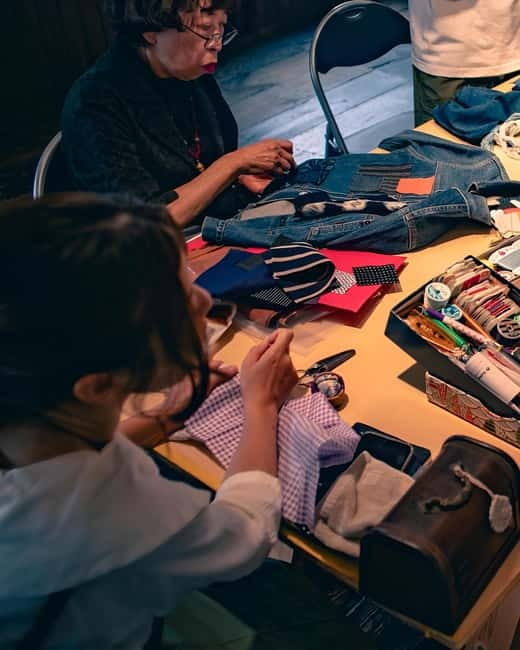
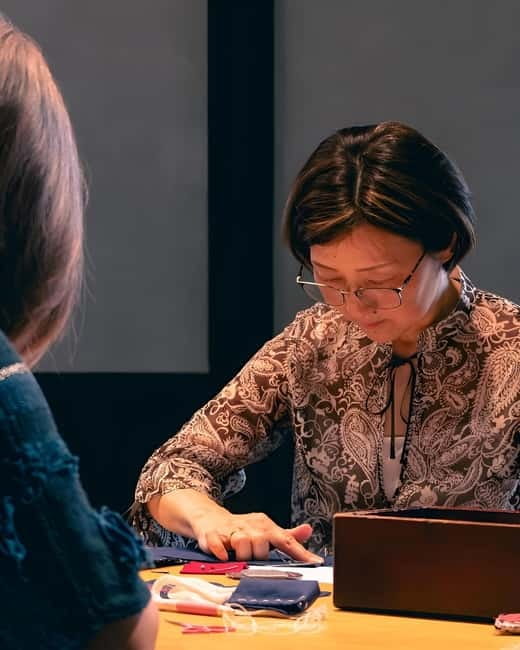
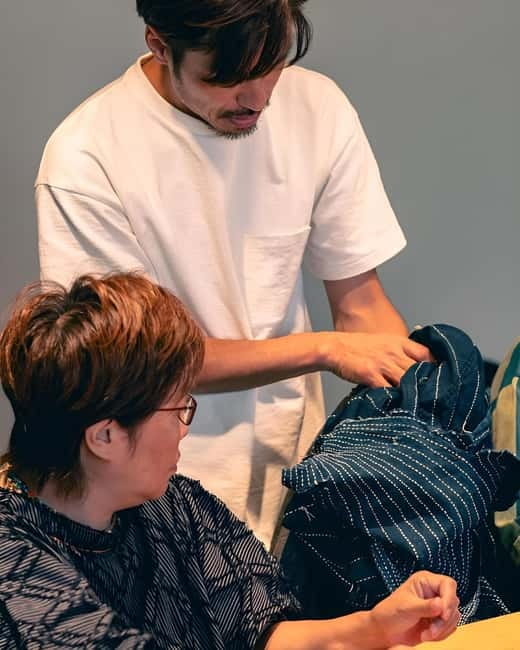
The workshop setup is built for learning, not performance. You’ll get the tools and materials, including the fabric, needles, threads, and Sashiko-specific supplies you need to make your piece. That’s a big deal for value because you’re not paying just for instruction—you’re also getting everything needed to complete the project.
The class is limited to 8 participants, which changes the feel. In a large room, you can get stuck waiting. Here, you’re more likely to get quick corrections on tension, stitch length, or how to guide the needle so your lines stay crisp.
The atmosphere is also described as calm, and that makes sense with hand-stitching: you slow down. One participant noted the older-house character of the space, including wood stairs and framing details. If that kind of place appeals to you—quiet craft rooms and tactile settings—you’ll probably enjoy the whole experience beyond just the final coaster.
Language support is practical here: instruction is offered in English and Japanese, so you shouldn’t feel lost if your Japanese is limited.
Your 2-hour flow: from first stitches to coaster finish

This workshop is paced like a good class should be: short intro, clear demonstration, then time to practice until your stitches look like yours.
Step 1: A quick Sashiko grounding
You start with background on Sashiko and what it was used for. Then you’ll get a demonstration of the basic stitch. This part is useful even if you’ve embroidered before, because Sashiko has its own rhythm and visual structure.
Step 2: Learn the basics on your fabric
Next comes the practice. You’ll work through the fundamentals—how to handle the needle, keep the spacing even, and follow the geometry so the pattern reads correctly. Since it’s hands-on, you’ll learn faster by doing than by watching.
Step 3: Make a coaster using geometric patterns
The main project is your own Sashiko coasters using geometric designs. The reason I like this format for first-timers is simple: it’s small enough to finish in one session, but big enough that your efforts look real and satisfying when you’re done. Plus, coasters are easy to bring into daily life at home as a functional reminder, not just a decoration.
Step 4: Pattern symbolism as you work
As you stitch, you’ll also learn about the symbolism behind different patterns. This isn’t fluff. It helps you understand why certain shapes show up, and it gives you ideas if you continue Sashiko later.
Step 5: Finishing touches and take-home
When your coaster is complete, you’ll leave with a handmade Sashiko piece. In past sessions, instruction has also adjusted to the group’s pace—if you finish quickly, you may get a chance to learn an additional stitch as a bonus.
That pacing means you’re not stuck waiting for the slowest person, but you’re also not rushed if you’re new.
Pattern meaning, meditative rhythm, and skills you’ll actually reuse
There are two skills you’re building here.
First is technical. You learn the Sashiko stitch structure and how to keep it consistent, which is the foundation for any later project. In practice, that means your future stitching will look cleaner because you’ll understand how to maintain tension and spacing.
Second is creative. Sashiko looks simple, but the geometry rewards attention. You’ll start to see how repeating simple decisions produces a bigger pattern. That mental model carries over into other crafts too—knit textures, quilting lines, even basic hand embroidery.
I also like that the class can feel meditative. The repetition is calming, and the guidance from the instructor helps you stay in the work instead of constantly troubleshooting. One reason the reviews are so consistently positive is that instructors stay patient and supportive, including for people bringing teens or for those who just want a relaxing couple hours.
By the end, you’re not only walking out with thread on your fingers—you’re walking out with the confidence to try again.




What you take home, plus the nearby JunAle shop corner

Your takeaway is a completed Sashiko project—for this workshop, a coaster made with your own geometric pattern work. That’s the best kind of souvenir: it’s personal, practical, and you can put it on a table the same week you get home.
There’s also a small shopping corner adjacent to the workshop area. Here, you can check out JunAle original goods, sewing kits, hand-dyed threads, and clothing. If you’re the type who wants to keep stitching after the class, this is where you can buy starter supplies.
One helpful detail: discounts are available for cash payments. If you plan to shop, it’s worth having some cash ready so you don’t lose the opportunity. Even if you don’t buy anything, browsing the threads can give you ideas for your next pattern.
Price and value in Osaka for a 2-hour take-home craft
At $67 per person for a 2-hour workshop, the real question is whether you’re paying for experience only—or for supplies and a finished item too. Here, you get both: tools and materials are included, instruction is hands-on, and you take home the completed coaster.
The small-group cap matters to value. With up to 8 participants, you’re not paying premium prices for a crowded classroom where you wait your turn. You’re paying for attention—enough guidance to help your stitches look like the pattern you were aiming for.
If you’re traveling solo, that value question gets a little more complicated. If the minimum group isn’t met, solo travelers can face a choice: an alternate date, a 3000 yen solo supplement, or a full refund. For many people, it’s still worth it, especially if you’re set on Sashiko and you want a structured, guided intro rather than trial-and-error.
Also remember: transportation to the venue isn’t included. If you’re coming from a place that makes transit easy, that’s not a big deal. If not, factor in your time and local fare so the total cost matches your expectations.
Should you book this Osaka Sashiko workshop?
If you want a Japanese craft that’s friendly to beginners and actually ends with something you made, I’d say yes. This is a short, focused 2-hour class with included materials, small-group coaching, and a take-home coaster that feels genuinely personal.
Book it especially if you:
- like hands-on work more than museum-style looking
- want something calmer than typical sightseeing
- want an authentic craft with context, not just a craft project
- enjoy the idea of learning a technique you can repeat at home
Think twice if:
- you need full control over the exact date as a solo traveler, due to the minimum-guest rule
- you’d rather do a longer project (this is built for finishing within 2 hours)
FAQ
Where is the meeting point, and is transportation included?
The meeting point is Kyobashi station. With advanced notice, you can be met there. Transportation to and from the venue is not included, so you’ll handle your own local travel.
How long does the workshop last?
The workshop lasts 2 hours.
How large is the group?
It’s a small group limited to 8 participants.
What languages are the instructors using?
Instruction is available in English and Japanese.
What will I make, and can I take it home?
You’ll make Sashiko coasters with geometric patterns, and you’ll take home your completed handmade piece.
Are tools and materials included?
Yes. The workshop includes the necessary tools and materials, such as fabric, needles, and thread.
What happens if I’m traveling solo?
If the minimum of 2 guests isn’t met, solo travelers are offered one of three options: attend on an alternate date, pay a 3000 yen solo supplement, or receive a full refund.